Introduction
Today, I’ll be demonstrating the Assign Fees module — the place where fee structures are assigned to students, either individually or in bulk. This process creates the actual fee records students are expected to pay.
Before any fee can be assigned, two things must already exist:
The class
Fee structures created for that class
What are fee structures?
They define how much each class pays for different fee categories per academic year — for example, tuition, registration, or sports. The payment frequency could be once per year, monthly, per term, or annually.
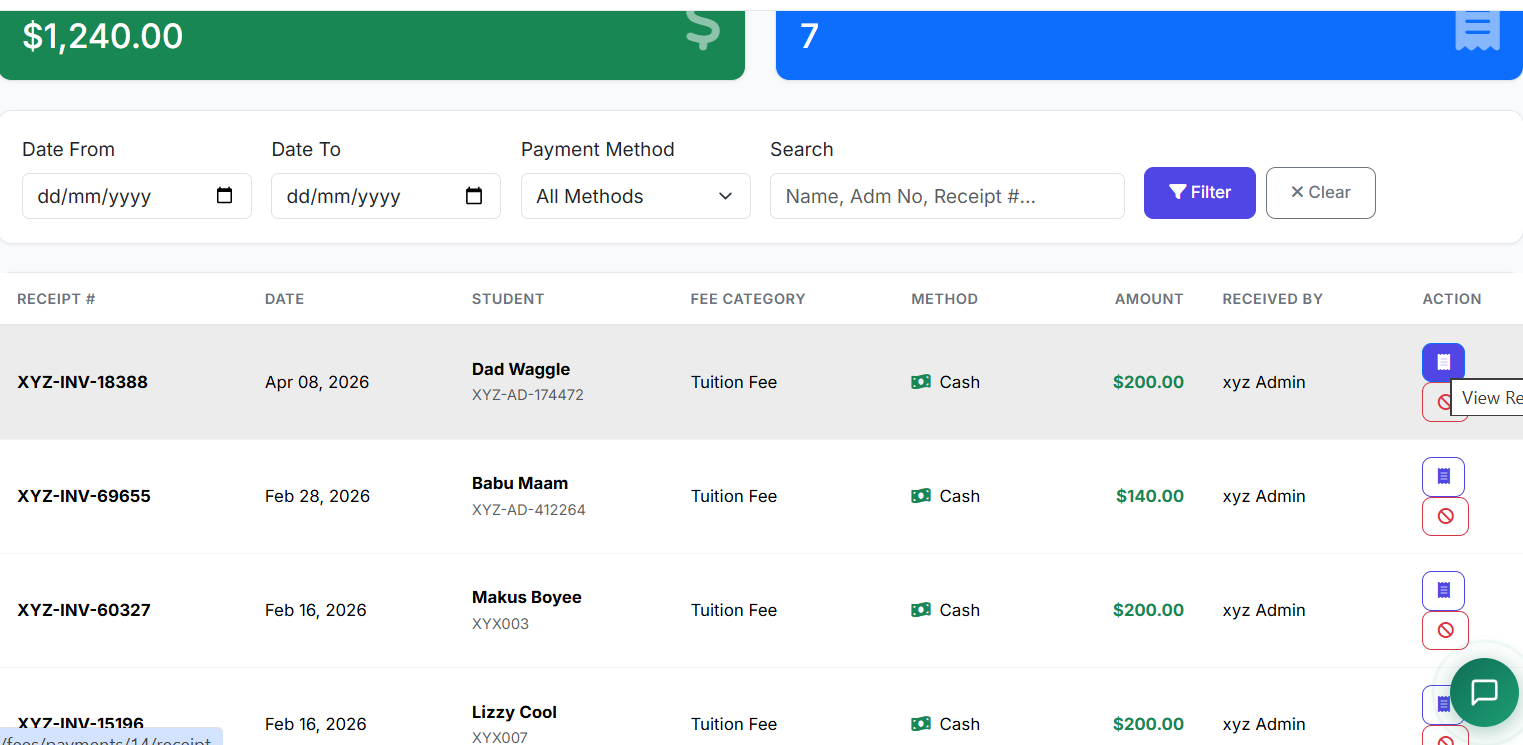
Once a fee structure is created, the next step is to assign it to a class (or all classes). This is critical: without fee assignment, students won’t appear on the Fee Payment page.
Navigating to Assign Fees
Go to Finance → Assign Fees.
This page lets administrators assign fees efficiently and accurately based on the school’s fee structures.
When Are Fees Assigned?
Fees are typically assigned at several points during the academic year:
Beginning of the academic year
Start of each term
New student enrollment
Monthly charges
Special fees (examinations, events, sports)
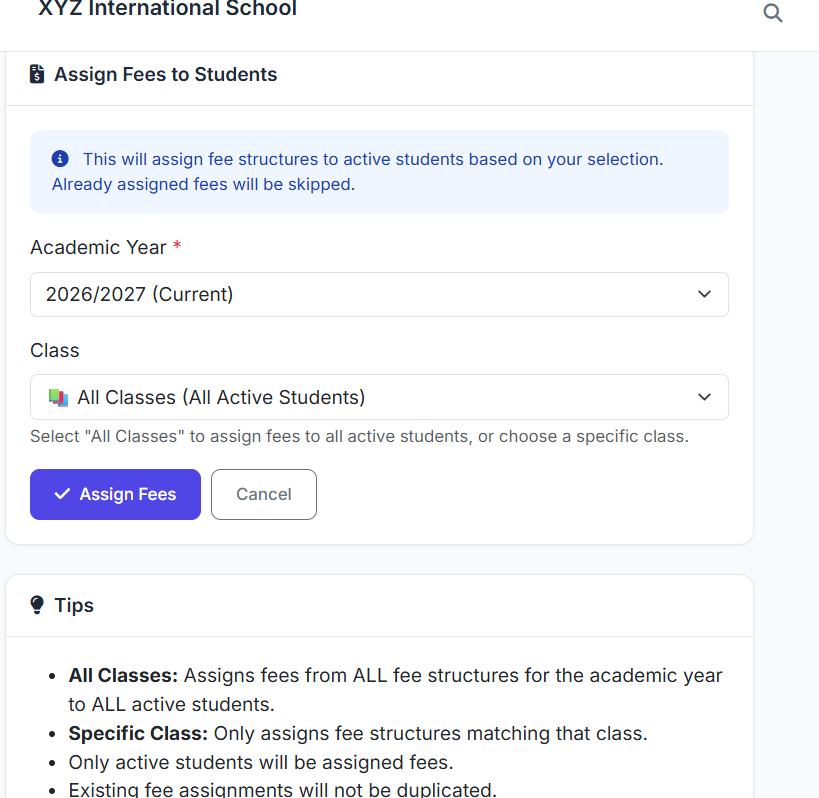
Bulk Fee Assignment by Class (or to All Students)
The most common method is bulk assignment by class — assigning fees to all students in a class at once.
Bulk Assignment Steps:
Select the academic year
Choose the class
The system automatically calculates fees for all students
After clicking “Assign to class”, the system displays all eligible students. You’ll see every student in that class for whom the fee structure has been created and assigned.
Best Practices
Assign fees promptly at the start of each term or year
Use bulk assignment for efficiency
Keep clear records of assignment dates — this helps with auditing and reporting
Conclusion
That concludes our demonstration of the Assign Fees module.
This module bridges fee planning and fee collection — ensuring every student is billed accurately and on time.